Procedure
- First step to find list of mail accounts, to find lists you need to install firebug addins in Firefox
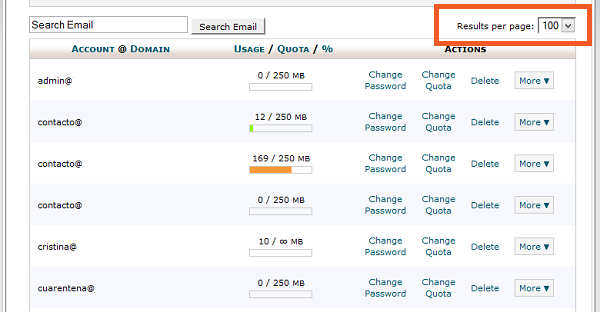
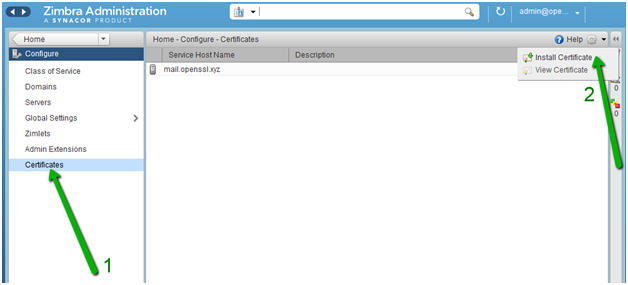
- After install firebug Open Cpanel and select Email Accounts tab in Firefox Browser as showing in screen shot
- Select Result per page maximum you can select 100 as given in screen shot. If result more than 100 you need to below exercise multiple time.
- Open Firebug in the website and go into Console>Show command editor, and paste the next code in the right window, and press run.
var rows = $(“#table_email_accts tr.dt_info_row”),
returnString = “”;
rows.each(function(i, item){
var tdList = [];
$(item).find(‘td:eq(0)’).each(function(s, subItem){
tdList.push($(subItem).text());
});
returnString += tdList + “\n”;
});
console.log(returnString);
- After paste above code in firebug you need to select result per page to 100 you will get result all mail accounts you need to copy it to notepad. Please keep it for we will use in future reference.
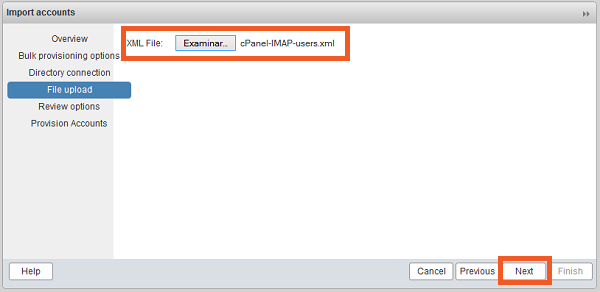
Creating the XML files
Account migration tool in Zimbra server work on two .xml files for bulk migrate accounts.
- The first xml is for the Account provision
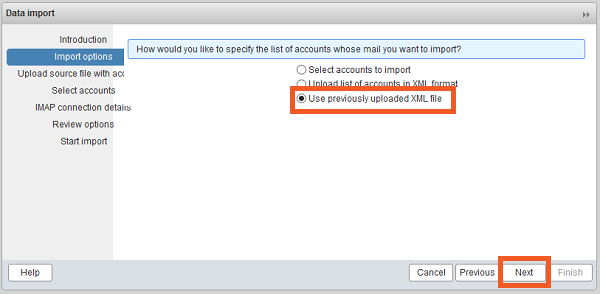
- The second xml is for the IMAP data import
First xml is for account provision, Which used to provision multiple email account without importing email
Sample
Sam
Sam Sample
ssample@example.com
test123
TRUE
Zackry
Zak
Zak Zackry
zzackry@example.com
test123
TRUE
Save this xml file as Cpanel-IMAP-User.xml
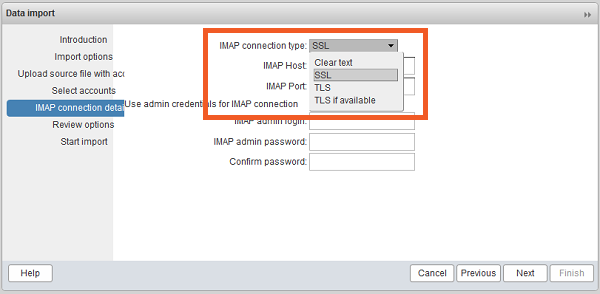
The second xml is for import emails.
imap.gmail.com
143
cleartext
0
Sample
Sam
Sam Sample
sam@example.comsam@example.comtest123
Zackry
Zak
Zak Zackry
zzackry@example.comsam@example.comtest123
Note: Instead of imap.gmail.com you need to set server address of Domain mail server in above script
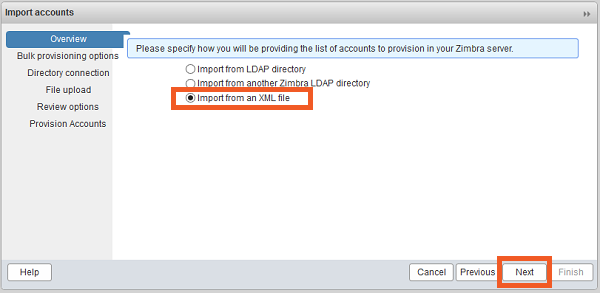
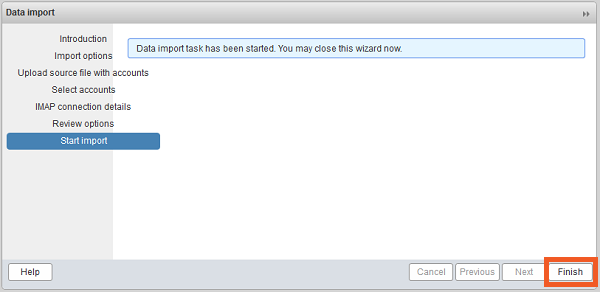
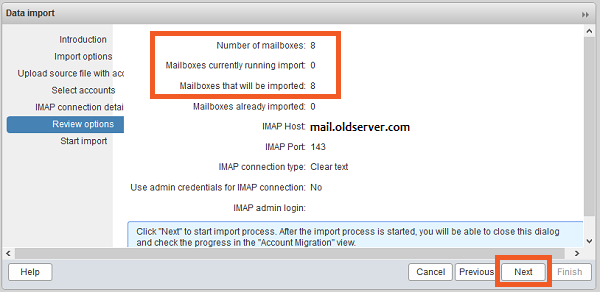
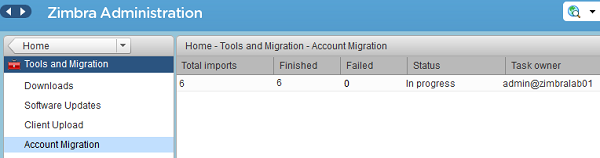
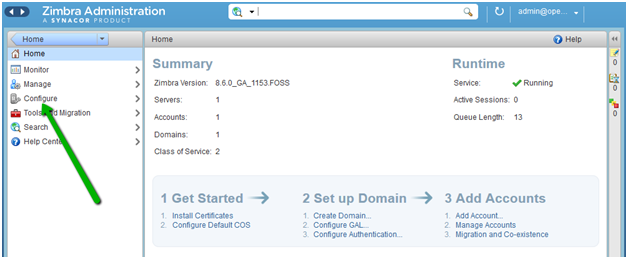
After save both xml files open account migration tool from Zimbra admin console from Home>Tools>Migration>Account Migration
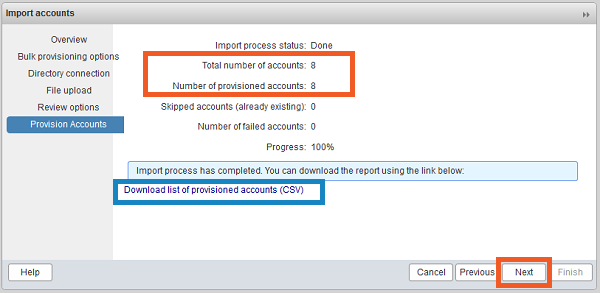
- After completed this it shows like this if any error not occurred